
Bathroom renovation plumbing tips for GTA homeowners
Bathroom renovation plumbing tips for GTA homeowners ! Homeowner reviewing bathroom renovation plumbing codes > TL;DR: > > - Proper permit and inspection adherence prevent costly future repairs and ensure code compliance.

Bathroom renovation plumbing tips for GTA homeowners
TL;DR:
- Proper permit and inspection adherence prevent costly future repairs and ensure code compliance.
- Selecting the right materials like PEX and PVC, with correct sealing, avoids leaks and failures.
- Planning pipe layout, slope, and support ensures efficient drainage and reduces long-term issues.
Bathroom renovations rank among the most exciting home upgrades you can make, but plumbing mistakes can turn a dream project into a costly nightmare. Many GTA homeowners dive into renos without realising how quickly improper pipe work, missed permits, or wrong materials can add thousands to the final bill. A single bad joint or missed slope can cause water damage that stays hidden behind walls for years. This guide gives you clear, practical plumbing advice built specifically for the Greater Toronto Area, so you can move forward with confidence, whether you’re tackling parts yourself or working alongside a licensed contractor.
Table of Contents
- Understand local plumbing codes and inspection requirements
- Choose the right materials: PEX, PVC, and proper sealing
- Plan your bathroom layout: Pipe routing and fixture placement
- Avoid common DIY mistakes: Leak risks, slopes, and final checks
- What most GTA homeowners miss about bathroom plumbing upgrades
- Your GTA bathroom project: How Proper Plumbing can help
- Frequently asked questions
Key Takeaways
| Point | Details |
|---|---|
| Always follow code | Ontario plumbing codes and permits protect your renovation investment and legal compliance. |
| Choose materials wisely | Select PEX for supply and PVC for drains to balance durability and cost, following GTA best practices. |
| Plan your layout | Smart pipe and fixture placement save time, money, and prevent headaches during your project. |
| Test before sealing | Check all connections for leaks and code compliance before closing up walls for peace of mind. |
Understand local plumbing codes and inspection requirements
To set the groundwork for any plumbing project, let’s start with code compliance and permits. This is where many GTA homeowners get tripped up, and it’s also where the most expensive mistakes begin.
Code compliance is not just a formality. It protects your safety, keeps your home insurance valid, and prevents serious problems when you sell your property. Buyers and their lawyers look closely at permit history. Unpermitted plumbing work can kill a sale or force you to redo the work at your own expense before closing.
In Ontario, most plumbing changes in a bathroom require a building permit. This includes moving or adding drains, relocating supply lines, or changing fixture locations. Minor repairs like replacing a faucet or toilet typically don’t need a permit, but anything involving new pipe runs almost certainly does. Contact your local municipality, whether you’re in Toronto, Mississauga, Brampton, or another GTA city, to confirm what applies to your specific project.
Here’s what the permit and inspection process typically looks like:
- Submit a permit application with your project drawings to your local building department
- Pay the applicable permit fee (fees vary by municipality and project scope)
- Wait for permit approval before starting any rough-in work
- Schedule a rough-in inspection before closing walls
- Request a final inspection once all fixtures are installed
During inspections, inspectors commonly flag issues like missing cleanouts, improper venting, and unsupported pipes. The Ontario Building Code (OBC) sets specific requirements for pipe support, and support horizontal pipes per OBC tables is one of the most frequently cited deficiencies. Horizontal drain pipes need support at regular intervals to prevent sagging, which causes pooling and slow drains over time.
Important: Skipping a permit doesn’t save money in the long run. Failed inspections, insurance claims denied due to unpermitted work, and forced remediation are far more expensive than doing it right the first time.
Pro Tip: Most GTA municipalities list permit requirements and application forms on their official websites. Search your city’s name plus “building permit plumbing” to find the exact process. If you’re unsure whether your planned work needs a permit, a quick call to the building department takes minutes and can save you thousands. You can also review whether it makes more sense to repair or replace plumbing before committing to a full renovation scope.
Choose the right materials: PEX, PVC, and proper sealing
With code compliance in place, the next critical step is material selection for your plumbing lines. Choosing the wrong material, or mixing incompatible ones, is a common and expensive mistake.
For water supply lines, PEX (cross-linked polyethylene) is the go-to choice in modern GTA renovations. It’s flexible, freeze-resistant, and easier to install than rigid copper. PEX bends around corners without fittings, which means fewer potential leak points. It’s also more affordable than copper and performs well in both hot and cold water applications.
For drain lines, PVC (polyvinyl chloride) is the standard. It’s lightweight, smooth on the inside (which reduces buildup), and easy to cut and glue. However, there’s a critical rule: PVC not below flood level applies in most Ontario jurisdictions. Below the flood level, which is the level of the next upstream drain opening, you need to use cast iron or another approved material. Using PVC below flood level is a common code violation.
Here’s a quick comparison to help you decide:
| Material | Best use | Pros | Cons |
|---|---|---|---|
| PEX | Supply lines | Flexible, affordable, freeze-resistant | Not UV-rated for outdoor use |
| PVC | Drain and vent lines | Lightweight, smooth, easy to work with | Not approved below flood level |
| Copper | Supply lines | Durable, long lifespan | Expensive, rigid, labour-intensive |
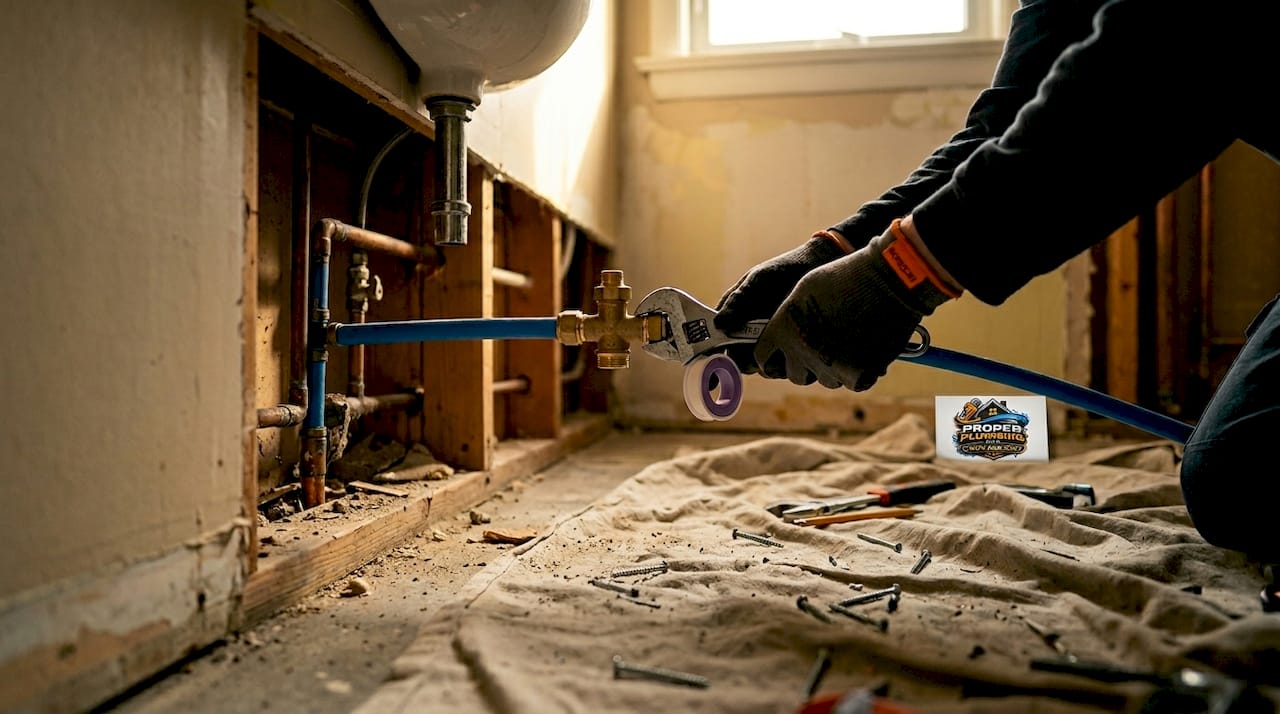
Proper sealing is just as important as material choice. For threaded connections, always use Teflon tape (also called PTFE tape) wrapped clockwise around male threads, or pipe dope (thread sealant compound) for a stronger seal. Don’t use both together unless the pipe dope is specifically rated for use with Teflon tape.
- Wrap Teflon tape 2 to 3 times around threads, pulling it tight as you wrap
- Apply pipe dope with a brush for larger diameter fittings
- Never overtighten plastic fittings, as this causes cracks
- Let solvent cement (PVC glue) cure fully before pressure testing
Pro Tip: Mixing materials without the right transition fittings is a costly mistake. Connecting copper to PEX without a proper push-fit or crimp fitting causes corrosion and leaks. Always use fittings rated for the specific transition. For guidance on kitchen and bathroom plumbing materials, or if you’re dealing with hard water and pipe choices in your area, getting expert input early saves money later.
Plan your bathroom layout: Pipe routing and fixture placement
Once materials are chosen, it’s essential to lay out your plumbing system for both function and efficiency. Poor planning at this stage leads to expensive changes once walls are open.
Fixture placement directly affects how far your drain and supply lines need to run. The closer your toilet, sink, and shower are to the main stack (the large vertical drain pipe), the shorter your runs and the simpler your venting. Moving a toilet more than a metre from the stack almost always requires additional venting work, which adds cost and complexity.
Drain slope is non-negotiable. Here’s a quick reference for OBC-compliant drain pipe slopes:
| Pipe diameter | Minimum slope per metre |
|---|---|
| 32 mm (sink drain) | 20 mm per metre |
| 50 mm (shower/tub) | 20 mm per metre |
| 75 mm (toilet) | 10 mm per metre |
| 100 mm (main drain) | 10 mm per metre |
Insufficient slope causes solids and debris to settle in pipes, leading to chronic clogs. Too much slope causes water to run ahead of solids, which also causes blockages. Getting slope right matters. The OBC also requires support horizontal pipes per OBC tables at specified intervals to maintain that slope over time.
Follow these steps to sketch a code-compliant bathroom layout:
- Mark the location of the main stack on your floor plan
- Position the toilet as close to the stack as practical
- Plan sink and shower drain locations, keeping runs short and direct
- Identify where venting will connect or tie in to existing vents
- Mark supply line routes from shutoff valves to each fixture
- Review clearance requirements around the toilet (OBC specifies minimum side clearances)
Before closing walls, check this list:
- All traps are within OBC-specified distance from the vent
- No drain runs are flat or pitched the wrong direction
- All pipe support brackets are installed at required intervals
Rough-in work is best handled by or at least reviewed by a licensed plumber. If you’re planning a larger project, understanding the sewer re-piping process or considering full-home plumbing upgrades alongside your bathroom reno can save you from opening walls twice.
Avoid common DIY mistakes: Leak risks, slopes, and final checks
With your layout mapped out, the next step is executing the installation. Here’s how to avoid the errors that send GTA homeowners back to square one.
The most frequent DIY plumbing mistakes in bathroom renovations include:
- Improper drain slope: Either too flat or too steep, both cause chronic blockages
- Loose or dry-fit joints: PVC joints left without solvent cement, or push-fit fittings not fully seated
- Missed venting: Adding a fixture without a proper vent causes gurgling drains and siphoned traps
- Wrong sealant: Using silicone caulk on threaded pipe joints instead of Teflon tape or pipe dope
- Unsupported pipes: Horizontal runs that sag over time, breaking slope and stressing joints
Industry data consistently shows that improper pipe support and slope errors account for a significant share of post-renovation plumbing failures. Properly using Teflon tape and pipe dope for seals and supporting pipes per OBC requirements are two of the simplest steps that prevent the majority of these failures.
Before you close any walls, test every line. For water supply lines, turn the water on and check every fitting under pressure for at least 15 minutes. For drain lines, plug the drain opening, fill the pipe with water, and watch for drops in the water level that indicate a leak.
Knowing the signs you need an emergency plumber after a reno, such as persistent dripping sounds, soft drywall, or unexplained water stains, helps you act fast before damage spreads. If you’re also dealing with troubleshooting toilet leaks post-installation, address them immediately rather than waiting.
Pro Tip: Before closing walls, take clear photos of all installed pipes, fittings, and support brackets. Label the photos with the room and date. If you ever need to repair or modify the plumbing years later, these photos are invaluable. Store them digitally and share a copy with your contractor or insurance provider.
What most GTA homeowners miss about bathroom plumbing upgrades
Here’s something worth saying plainly: plumbing is the most underestimated part of a bathroom renovation. Most homeowners focus on tile, fixtures, and finishes. The pipes get treated as an afterthought. That’s a mistake.
Problems behind walls often don’t show up for two or three years. By then, a slow leak has rotted subfloor, grown mould, and damaged the structure below. The repair bill can easily exceed the original renovation cost. We’ve seen it happen more times than we can count.
Many homeowners choose DIY to save money, which is understandable. But the OBC is detailed and specific. Missing one slope requirement or skipping a vent can fail inspection and require tearing open finished walls. The cost of a licensed plumber to review your rough-in or handle the critical connections is almost always less than the cost of fixing a failed inspection or a hidden leak.
Think of long-term plumbing planning as protecting your entire renovation investment. Every dollar spent getting the plumbing right behind the walls protects every dollar you spent on tile, cabinetry, and fixtures in front of them.
Your GTA bathroom project: How Proper Plumbing can help
With the right guidance and expert help, even complex bathroom plumbing can be smooth and worry-free.

Proper Plumbing GTA works with homeowners and property managers across the Greater Toronto Area at every stage of a bathroom renovation. Whether you need a licensed plumber to review your rough-in plans, handle the critical pipe connections, or respond quickly to a post-reno leak, we’re available 24/7 with response times often within 60 minutes. From GTA toilet overflow repairs to full emergency GTA plumbing services, our vetted professionals bring the expertise your project deserves. Contact us early in your renovation for upfront pricing and plumbing repairs and replacements that meet Ontario code the first time.
Frequently asked questions
Do I need a permit for bathroom plumbing work in the GTA?
Yes, most plumbing changes require a permit and inspection to meet the Ontario Building Code and protect your home’s resale value. This includes adding or moving drains, supply lines, or fixtures, and inspectors will verify that horizontal pipes are supported per OBC tables.
What is the best pipe material for a bathroom renovation?
PEX is best for water supply lines due to its flexibility and durability, while PVC works well for drain pipes. Remember that PVC is not approved below flood level and always seal threaded connections with Teflon tape or pipe dope.
How can I check if my plumbing work meets Ontario code?
Review the Ontario Building Code directly, confirm local requirements with your municipality’s building department, and schedule a rough-in inspection before closing walls. Inspectors verify pipe slope, support, venting, and that OBC pipe support tables are followed.
What is the most common DIY plumbing mistake in bathroom renovations?
Improper pipe sloping is the most frequent error, often leading to slow drains, chronic clogs, and eventual leaks. Proper slope combined with pipe support per OBC tables prevents the majority of post-renovation plumbing failures.
Recommended
- Kitchen & Bathroom Plumbing Renovations GTA | Proper Plumbing
- Repair or Replace? How GTA Homeowners Should Think About Aging Plumbing | Proper Plumbing GTA Blog
- Plumbing Tips & Advice Blog | Proper Plumbing GTA
- Water Service Replacement & Upgrade GTA | Proper Plumbing
- Kitchen Renovation: Essential Plumbing Services - Home Therapist Cooling, Heating, and Plumbing
Need a plumber in the GTA?
Licensed & insured · Upfront pricing · Same-day service available 24/7
647 206 3327 — Call Now
